For most New Jersey homeowners, hardwood floor sanding day is the most disruptive part of a refinishing project. The work is loud, the space is inaccessible, and the result of the day bare, sanded wood does not look finished yet. Knowing what is actually happening and what you need to do to prepare makes the experience significantly smoother.
We complete refinishing projects throughout Monmouth County, Ocean County, and Middlesex County, NJ, and the homeowners who have the best experience are always the ones who knew what to expect. This guide covers the preparation checklist, what the crew does step by step, how to manage dust, and what the floor needs before the finish crew arrives.
Before Sanding Day: What to Do in Advance
Preparation is the homeowner's primary responsibility. The sanding crew cannot begin work until the floor is fully clear, and delays caused by unprepared rooms add time and sometimes cost to the project. Here is the complete preparation checklist.
Remove all furniture
Every piece of furniture must be out of the work area before the crew arrives. This includes couches, chairs, tables, beds, dressers, and any other items sitting on the floor. Most Monmouth County and Middlesex County homeowners move furniture to adjacent rooms, a garage, or temporary storage. If you need help with furniture moving, discuss this with your contractor in advance some crews can assist, but it is not typically included in a refinishing quote.
Remove area rugs and floor coverings
All area rugs, runners, furniture pads, and any other floor coverings must come up. The sanding equipment cannot work around them, and leaving pads or adhesive residue on the floor will interfere with the sanding process.
Remove window treatments and protect nearby items
Curtains and drapes in the work area should be removed or tied well above floor level fine dust settles, and fabric catches it. Electronics, open shelving, and items on surfaces in adjacent rooms should be covered or moved. Even with dustless equipment, fine particles travel.
Confirm your stain color decision
If you are changing the color of your floors, the final stain decision should be confirmed before sanding begins. Once the floor is sanded to bare wood, the color conversation becomes real the contractor can apply test patches on the actual floor so you see the stain on your specific species and grain. For projects in Ocean County and across New Jersey where homeowners are switching from warm to cool tones, this test stage is important. Do not skip it.
Plan where you and your family will be
You need to be out of the house for the duration of the sanding day. Pets must be relocated not just to another room, but off the premises. The noise and dust generated during sanding are not safe for animals in the home. Arrange overnight accommodations if the project spans multiple days and re-entry is not possible until after the finish has cured.
Scheduling a refinishing project in NJ?
We walk through the full preparation checklist with every Monmouth County, Ocean County, and Middlesex County homeowner before the project begins no surprises on day one.
The Day of Sanding: What Happens and When
The crew typically arrives in the morning and proceeds through a defined sequence. Understanding the process helps you know what is happening and sets realistic expectations for what the floor looks like at different stages.
Setup and protection
Before sanding begins, the crew tapes plastic sheeting over doorways, HVAC vents, and other openings to contain dust within the work zone. Dust containment equipment is staged, and the drum sander is loaded with the appropriate grit for the first pass. This setup phase takes 20 to 45 minutes depending on the size of the space.
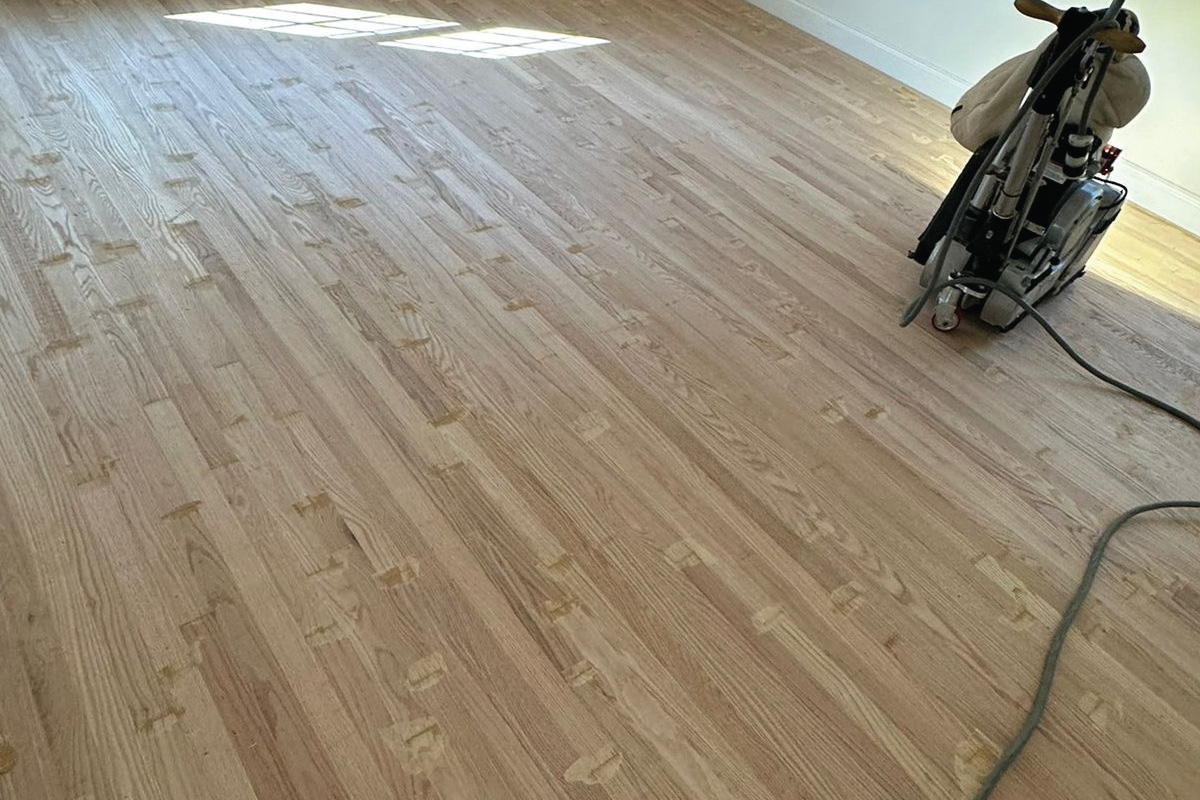
First sanding pass (coarse grit)
The drum sander runs diagonally or with the grain at a coarse grit typically 36 or 40 grit to remove the existing finish and begin leveling the floor surface. This is the loudest, most aggressive phase. Cupped boards get flattened; old polyurethane and stain are stripped down to bare wood. The floor looks rough and uneven at this stage, which is normal.
Edge sanding
The drum sander cannot reach the perimeter of the room an edge sander handles the borders, stair treads, and any areas the drum cannot access. Edge sanding runs concurrently or directly after each drum pass and produces a noticeable amount of localized dust even with containment.
Subsequent passes (medium and fine grit)
The crew makes additional passes at progressively finer grits typically moving through 60, 80, and 100 grit each removing the scratches left by the previous pass. By the final fine-grit pass, the floor surface should be smooth, consistent, and ready for staining or finishing. Hand sanding around corners, closets, and tight transitions is done at the end of this phase.
Vacuuming and tack
After sanding is complete, the floor is thoroughly vacuumed and wiped with a tack cloth to remove all fine dust. This step is critical any dust particles left on the surface will be trapped in the finish coat and create a grainy texture. Some crews use compressed air to blow out corners and under radiators before the final tack.
Typical Sanding Day Timeline
- 7:30–8:00 AM: Crew arrives, setup and dust containment
- 8:00–10:30 AM: Coarse-grit drum sanding and edge sanding
- 10:30 AM–1:00 PM: Medium-grit passes and edge work
- 1:00–3:30 PM: Fine-grit passes, hand sanding, detail work
- 3:30–4:30 PM: Vacuuming, tacking, stain test patches (if applicable)
- 4:30–5:00 PM: Crew breakdown, final walkthrough with homeowner
Dust and Air Quality: What to Expect
The question we hear most often from New Jersey homeowners before a refinishing project is about dust. Modern dustless sanding systems which we use on every project across Monmouth County, Ocean County, and Middlesex County connect the sander directly to a high-capacity vacuum system that captures the vast majority of dust at the source. The difference compared to traditional open sanding is dramatic.
However, dustless does not mean zero dust. Fine particles escape containment during edge sanding, hand sanding, and at the start and stop of each drum pass. These particles are light enough to travel into adjacent areas through HVAC systems and gaps in door seals. After the project, you can expect a light film of fine dust on hard surfaces in rooms adjacent to the work area.
"We run dustless equipment on every project. Homeowners are almost always surprised at how clean the space is after sanding. But 'dustless' means dramatically less dust not zero. Plan accordingly."
Practical steps to manage dust exposure:
- Seal HVAC return vents in and near the work area with tape and plastic sheeting before sanding begins
- Cover electronics, open shelving, and artwork in adjacent rooms
- Run an air purifier in non-work areas if you have household members with dust sensitivities
- Do not re-enter the home during active sanding unless necessary
- After the project, wipe hard surfaces in adjacent rooms with a damp cloth before returning electronics or sensitive items to their places
Have questions about the full refinishing process?
Our guide covers every stage from the initial consultation to the final coat so you know exactly what to expect from start to finish.
After Sanding: Before the Finish Goes Down
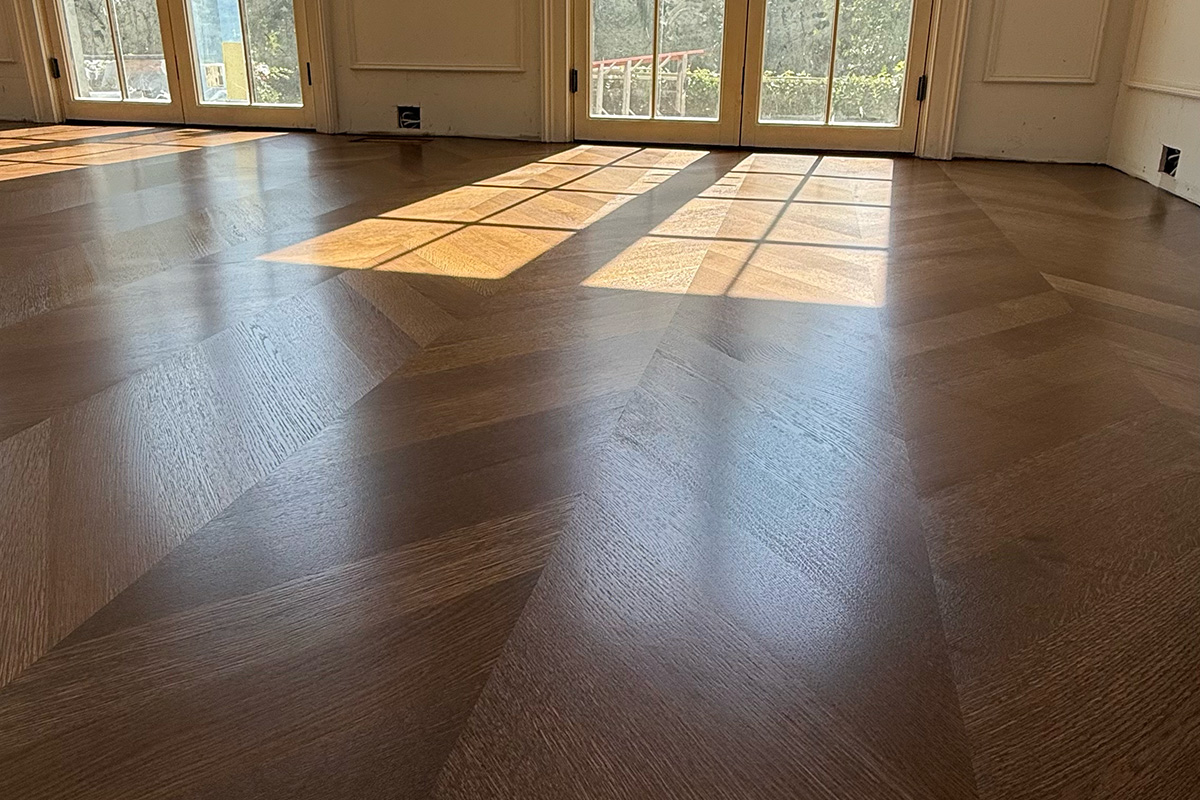
When sanding is complete, the floor looks dramatically different bright, raw, and uniform where the old finish and stain have been removed. This is the stage where stain color is confirmed and applied (if applicable), and it is the most delicate phase of the project from a contamination standpoint.
Stain application
If a stain is being used, it is applied to the bare wood after the final vacuuming and tacking. The stain penetrates the open grain of the freshly sanded wood and begins to show the actual color within minutes. Most crews apply stain by hand using a rag or floor brush, working in sections. This phase requires complete evacuation of the space. Stain typically needs 12–24 hours to dry before the first sealer coat can be applied.
Sealer and topcoats
After stain (or directly over bare wood on natural-finish projects), a sealer coat is applied followed by two to three topcoats of the chosen finish product. Each coat requires a full drying window and a light screen-sanding between coats to ensure adhesion and remove any dust nibs. The total time from sanding to final coat is typically two to four days depending on the finish system, the number of coats, and ambient conditions.
Re-entry and curing
Light foot traffic socked feet only, no shoes is typically permitted 24 hours after the final topcoat. Full furniture move-back is usually safe after 48–72 hours. Full cure the point at which the finish reaches its maximum hardness takes 7 to 14 days for most polyurethane products. During the curing period, avoid dragging furniture, placing area rugs, or using harsh cleaning products on the floor. For a complete care guide after your NJ refinishing project, see our hardwood floor care tips article.
For the full picture of a Holmdel or Marlboro refinishing project from the first consultation to move-back day, see our complete guide: What to Expect From Your Hardwood Flooring Project in NJ.
Planning a floor refinishing project in NJ?
We work with homeowners throughout Monmouth County, Ocean County, and Middlesex County and we walk through every step of the process before any work begins.
Frequently Asked Questions
Do I need to leave the house during hardwood floor sanding?
Yes we strongly recommend it. Sanding generates significant noise and fine dust even with dustless equipment, and the work areas are completely inaccessible during the process. Most New Jersey homeowners plan to be out of the home for the full work day. Pets must be removed from the premises; children should not be present. Staying out of the home also prevents accidental tracking of dust or debris into the freshly prepped floor areas.
How long does sanding hardwood floors take?
Sanding a standard room (200–300 sq ft) typically takes 2–4 hours with drum and edge sanders combined. A full first floor of an average New Jersey home (600–900 sq ft) is typically completed in a full work day. Multi-floor projects or staircases add time. The finishing coats that follow require additional days with mandatory drying time between coats most NJ refinishing projects run 2–4 days total from first sand to final coat.
How much dust should I expect from floor sanding?
With dustless or dust-containment equipment which Gorsegner Brothers uses on all NJ projects visible airborne dust is dramatically reduced compared to traditional open sanding. However, no system is 100% dust-free. Fine particles can settle on surfaces in adjacent rooms. We recommend covering furniture, electronics, and open shelving in nearby spaces before sanding day. Plan on light cleaning of hard surfaces in adjacent rooms after the project is complete.
Can I walk on the floors after sanding but before the finish is applied?
No. Freshly sanded floors are bare wood and extremely susceptible to contamination. Foot traffic even in socks introduces oils, moisture, and fine abrasive particles that contaminate the surface and can cause finish adhesion problems. Once sanding is complete, the floor should not be accessed by anyone except the finishing crew until the final topcoat has been applied and fully cured.
What should I do to prepare for sanding day?
Remove all furniture and area rugs from the work areas. Remove window treatments and cover built-in shelving, electronics, and artwork in adjacent rooms. Ensure the crew has clear access from the entry point. Secure pets and plan to be away from the home for the full work day. If the project spans multiple days, confirm the re-entry and re-occupancy timeline with your contractor in advance so accommodations can be arranged accordingly.